Hello there Dimes! It was the year 2014 when I started my at-home manicure journey. I remember having a mini panic attack after going over my bank statements and seeing how much money went towards beauty-related expenses.
It was definitely an eye-opening moment and after a bit of self-reflection, I decided to cut back on the amount I was spending on beauty. At the time, I had (super extra) acrylic nails, so it cost about $65 +tip every 2 weeks for a fill, which is roughly $140 per month or $1,680 per year. Just on my nails! So, I made the decision to stop going to the nail salon and learn to do my own nails.
Years of watching professional manicurists equipped me with most of the knowledge I needed. After doing some research (aka watching a bunch of YouTube videos), I bought all of the at-home supplies (more on that below). Then, I got started building Blair’s Nail Boutique baby!
It took me a while to get the hang of doing my nails, but now I have a solid routine. I’ve also gotten a lot better at keeping the nail polish on my nails and not on my skin, thankfully.
Doing your own nails is not only cheaper, but it’s also a major time-saver! Follow along with my 7 steps to a salon-style manicure at-home.
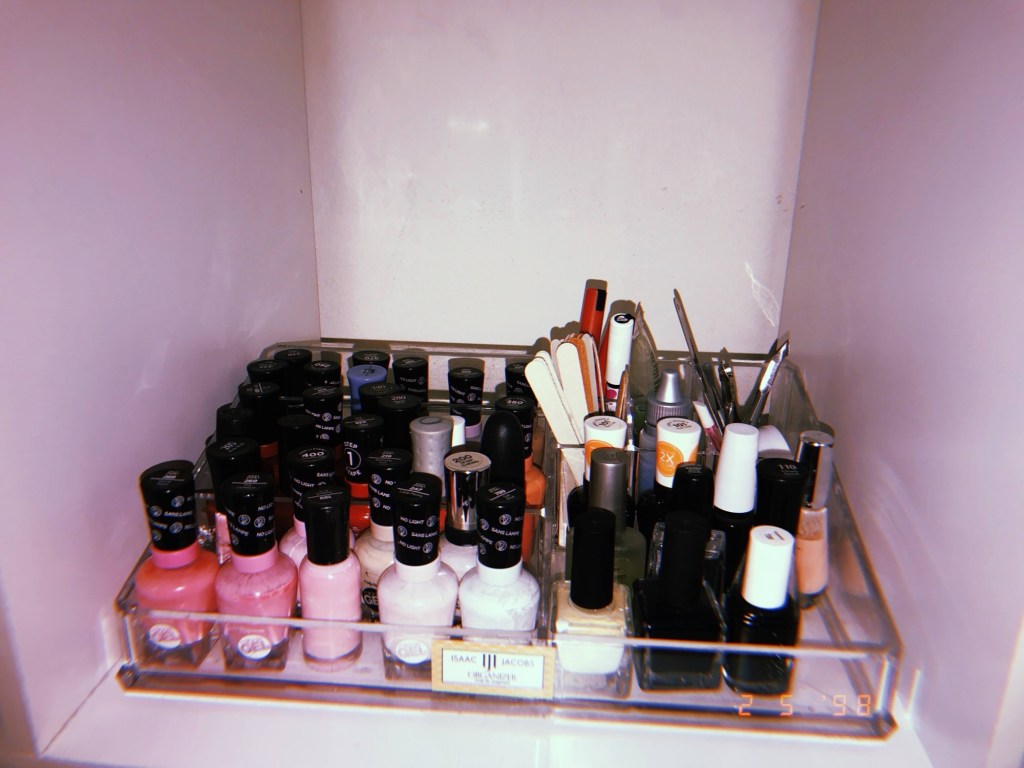
The At-Home Manicure Supplies:
- Nail clippers – big one for toe nails and and little one for finger nails
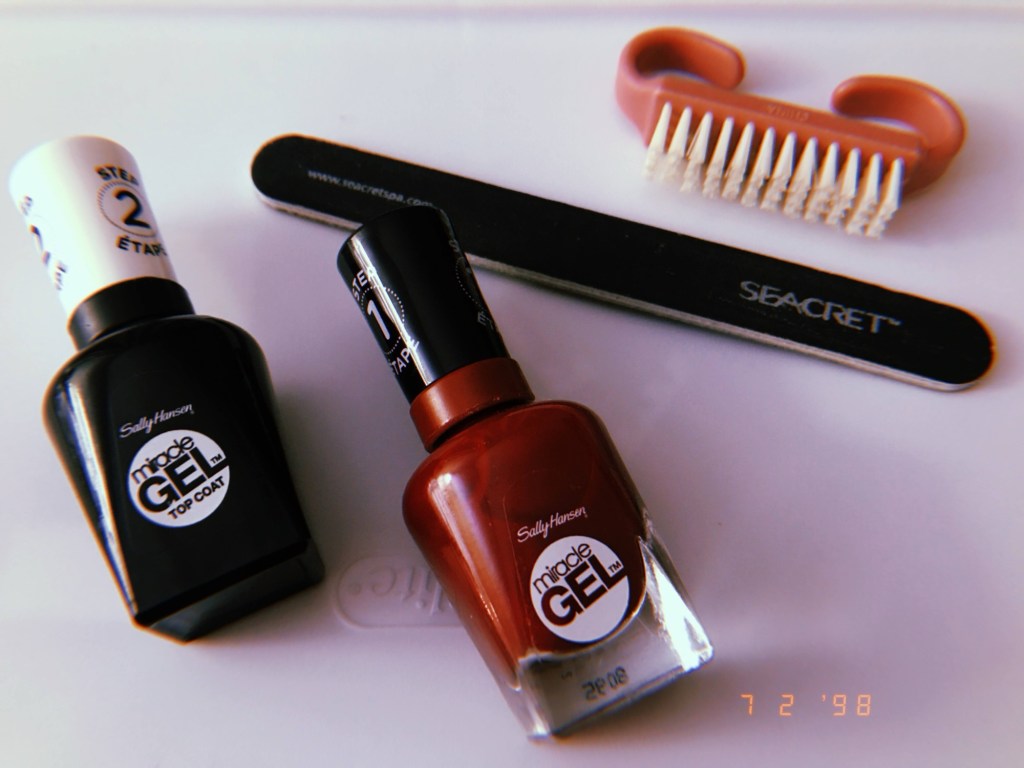
- Nail file or emery boards
- Buffing block
- Nail & Cuticle oil
- Cuticle pusher
- Cuticle clippers
- Base coat
- Topcoat
- Nail polish remover & cotton pads
- Nail polish
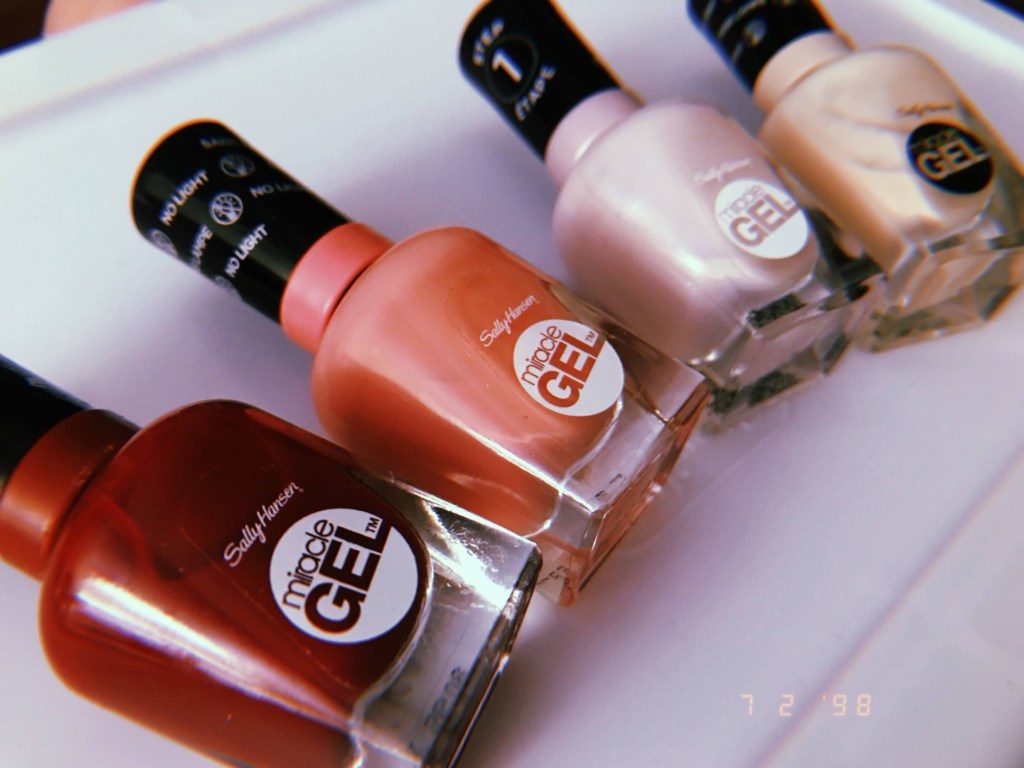
My Favorite Nail Polish Brands & Shades
- Sally Hansen Miracle Gel
- Quick dry
- Essie fast drying
7 Steps to Achieve A Salon-Style Manicure At Home:
STEP 1:
Clean up. The first step to do your own nails is to remove any old nail polish and wash your hands.
STEP 2:
Clip and shape. Clip your nails and then gently file them into whatever shape you like. Personally, I’m a fan of a short and square nail shape with softened edges. It sounds complex but it’s actually simple. To achieve this shape, clip your nails. Then, just file the top edges of your nails straight across. Continue until they’re all flat at the tips. Then, gently file the side edges of your nails to smooth out any roughness. Lastly, use a steady, rounding motion. Pull the nail file over the corners of your nails to create ever so slightly rounded edges. Check your work as you go. The corners should not be flat or pointy, they should be rounded out.
*I have a pair of flat nail clippers that are also helpful for creating this nail shape.
STEP 3:
Buff. To create a smooth surface for the nail polish to sit on, you need to buff your nails. I have a buffer block that I’ve been using for years, it’s easy and it really makes a difference.
STEP 4:
Cuticle care. Start with a quick 2-3 minute soak in a bowl of warm water – this will help soften your skin. Rub a cuticle softener all over your cuticles and nails, Let it sit for a minute or two. Next, using a cuticle pusher, gently push down the softened, dead cuticles along the bottom of your nail. Then, wash off the dead skin and excess cuticle gel with warm water, soap, and a washcloth. After drying off your hands, take your cuticle trimmer and clean up any excess skin. BE CAREFUL WITH THIS STEP. You can easily get carried away with this and over-trim your skin causing breakage, bleeding, and infections.
You don’t need to do much here; only trim off the loose skin and hangnails. Finish this step by rubbing cuticle oil onto your cuticles and the surrounding skin. Massage the oil into your skin until it’s fully absorbed.
Swipe over each nail with a cotton pad soaked in nail polish remover. It’s important not to skip this step. The oil will act as a barrier. It will cause your nail polish to slide right off your nail. Make sure you’re wiping only your nails and not your skin. You still want your skin to soak up all that good moisture and oil!
STEP 5:
Base coat. Apply 1-2 layers of your base coat of choice. I use a base coat that strengthens and protects my nails, but there are many different types out there.
*This might go without saying, but if you rest your hand on a table or other surface while you’re painting, it will help to keep your hands still and steady so you will be less likely to make mistakes.*
STEP 6:
Color. After your base coat has thoroughly dried, it’s time for the main event; painting on your color. Apply two coats of paint, resting for 5 minutes in between each coat.
Okay, now I’m going to go into way too much detail about how to paint the nail specifically.( If you want the quick version; swipe from base to tip three times; middle, left, and right. )
Okay I hope these details make sense in other people’s brains and not just mine…
- First, shake your polish bottle to mix any color separation. Dip the brush into the bottle. and swipe the side of it along the opening as you pull it out of the bottle. You should now be left with a brush that has one side with polish (not dripping) and one side empty.
- Using the side of the brush that has polish on it, paint a stripe up the middle of your nail. Use one gentle and widespread stroke.
- You should have a nail with bare sides and a stripe of polish down the middle. Apply the same gentle stroke up each side of the stripe. This results in a total of 3 big, wide brush strokes on each nail.
- Repeat this process for the second coat, making sure to fill in any noticeable color gaps you see.
STEP 7:
Topcoat. Finish off your at-home manicure with your topcoat. This is the sealant that will make your polish last longer, so don’t skip it! Also, if you’re using the Sally Hansen Miracle Gel Polish you can’t skip this because the topcoat is the gel activator and it brings the whole thing together! I typically only apply one layer of topcoat.
Hot tip is to brush a little bit of topcoat onto the very tip/edge of your nail. Trust me it is a great hack to prevent nail chipping!
Hot tip! Brush a little bit of topcoat onto the very tip/edge of your nail. Trust me it is a great hack to prevent nail chipping!
BONUS STEP:
Drying spray or oil. This step is kinda extra, but it’s a high-priority for m. I have absolutely zero patience and pretty much always end up messing up my nails because they’re still wet. It’s a big irritant for me, so I found a solution! Nail polish drying sprays and oils! I recently found these Olive and June Dry Drops at Target and they are even better than they spray. My nails are almost entirely dry in under 10 minutes for real!

Final Thoughts:
Aaaaaand that’s it! Now that you know exactly how to give yourself an at-home manicure, it’s time to put these steps into action. After you run through these steps a few times you should be able to operate on autopilot as I do. Once you get to the point where you can watch TV while you’re doing your nails, that is when you’ve made it. You feel like the time flies by, you get to enjoy a good show, and you end up with a gorgeous set of nails when you’re done – dare I say a win-win-win?
Please don’t be intimidated by doing your own nails. Treat it as an art form or a new hobby and with a little practice combined with a lot of patience, you’ll get the hang of it in no time! I mean, if I can do this with zero professional training or guidance you can too! Good luck and let me know how your at-home manicures go – I’d love to hear from you!
♡ Do you have any tips for doing an at-home manicure that I missed? Share your tips and tricks in the comments below!
xoxo DD
